AuraQ has vast experience helping organisations find the gaps that can be filled to enhance their business. This could be to improve efficiency, integrate legacy systems or deliver new portals and strategic applications to create competitive advantage. Contact us to request a free, no obligation Gap Analysis.

Mendix Low-Code Fundamentals – Applying Application Security
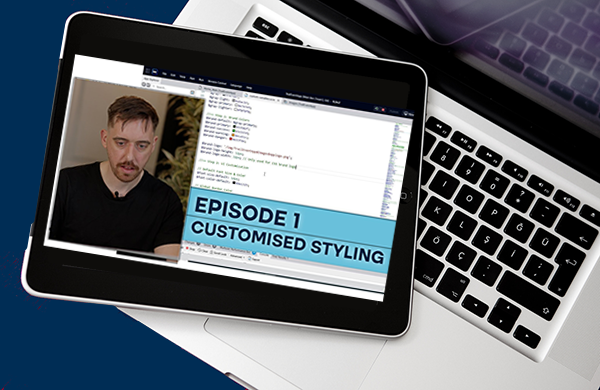
Welcome to the third instalment of our Mendix Fundamentals series, a blog and YouTube tutorial series providing explanations and walkthroughs of some of the key concepts used in the Mendix low-code development platform. Previous episodes in the series have covered building the domain model (episode 1) and creating pages for applications (episode 2). Our next topic (episode 3) covers security and how rules can be applied to ensure secure application development.
Having created our domain model and the foundations for the application, as well as pages and an engaging user interface, as a continuation, the security episode demonstrates how to apply security rules. In this blog we will highlight the key concepts covered in our step-by-step video tutorial with the intention of helping you understand the basic security principles. You can follow along by watching episode 3, visualising how these principles are applied in a real-world app or use this blog to develop a better understanding of how security works within the Mendix platform.
Throughout the series, we will be sharing our knowledge through the build of an event planning app for trail walking events. By following the development process, you will be shown best practices and tips. For the tutorials, we assume some basic Mendix knowledge, to support this there is lots of material available on the Mendix Academy where you can access the online learning paths.
Security principles in Mendix
Security in traditional application development can be a daunting task, with constant risks of insecure practices being used accidentally or maliciously. Mendix helps reduce the stress of ensuring secure development by integrating security into the core of its development process. This means that components such as encryption methods, key management, and security compliance to common security threats are already taken into consideration when you start building with Mendix. With secure production being turned on by the click of a button, you can have the confidence that your development process contains a solid baseline of security.
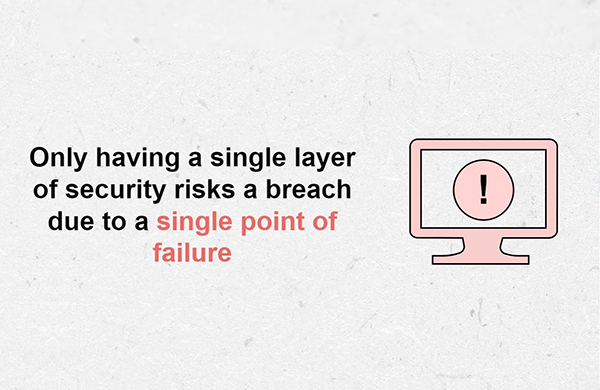
Security within Mendix is applied at the page, microflow, and entity level. This approach to layering security is known as Defence in Depth (DiD). This means that if an attacker manages to breach one layer of security, several other layers exist to thwart the attack. This prevents a single point of failure in application security, reducing the risk of major breaches. The use of DiD is considered best practice when establishing security controls such as when incorporating the ISO27001 standards, which Mendix complies with.
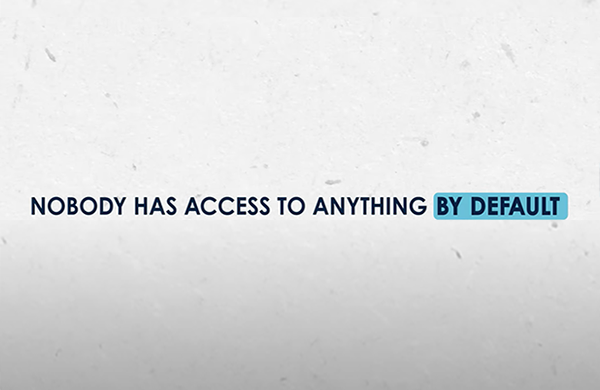
When you first apply security within Mendix, nobody has access to anything by default. This feature supports two major cyber security principles. Firstly, the principle of fail-safe defaults is supported by denying access unless explicit access is given. Secondly, the principle of least privilege is supported by forcing you to decide which users have access to what in the application. With features like this being incorporated into Mendix, you can have confidence that your development is being influenced by security principles and best practices.
Application and module security
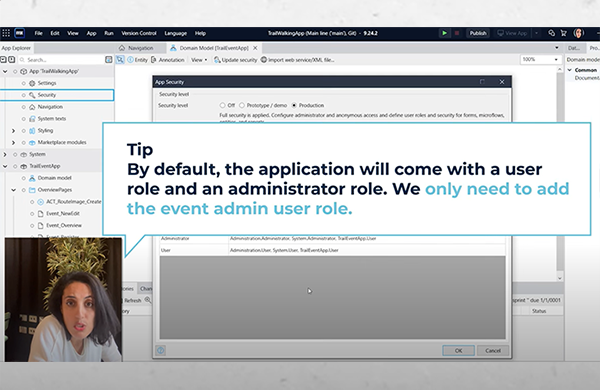
To get started enabling security in Mendix, application-level security controls the global security settings. This gives you control over features such as level of security, management of accounts and user roles, and whether to allow anonymous users. The level of security is particularly important as it controls how much control you have at the module level. By default, the level is set to ‘Off’. To introduce security at the module level, the security level needs to be changed to ‘Prototype/demo’ or ‘Production’. While Prototype/demo level security can be beneficial when presenting demo applications, it is recommended that you use Production level security as early as possible to ensure secure development occurs throughout the lifecycle of the application.
Module level security is where most of the action takes place. As discussed previously, this is where you apply security to entities, pages, and microflows. This means that you have control over everything; from who can view a page, to what attributes can be retrieved from your database. Security at the module level is associated with roles, so you’ll need to have module roles set up to associate the security rules with.
User roles and module roles
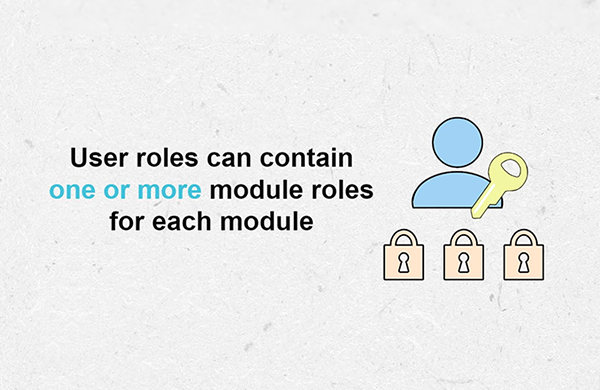
User roles are given to users to provide them access to application features. Each user role is comprised of one or multiple module roles. This again helps to support the fail-safe default principle, as just because a user is an administrator in one module, for example, doesn’t mean they are an administrator in all modules. In the tutorial, we set up module roles for administrators, event admins, and users to clearly separate the different levels of access needed in our application.
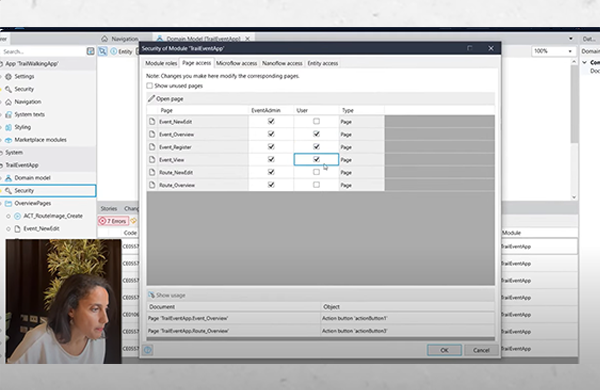
Page and microflow security
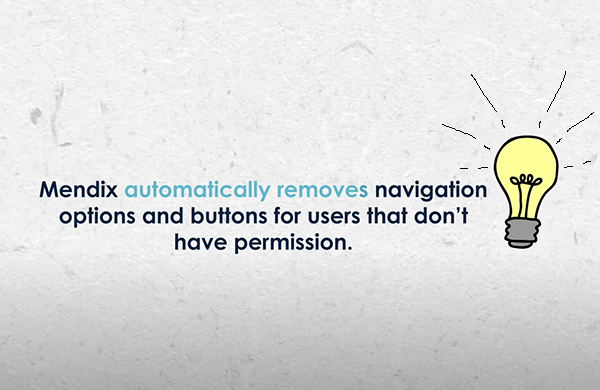
Page access defines and controls which pages a module role is authorised to view and the ‘Page access’ tab is displayed as a matrix showing pages and modules roles. Microflow access controls which microflows a module role is authorised to execute. Again, this is displayed as a matrix showing microflows and modules roles. However, while these access settings are essential, they do not restrict users from navigating to a page through other means and it’s important to note that page and microflow security measures alone don’t mean that unauthorised users cannot access sensitive information. While they may not be able to access pages that display sensitive information, malicious users could still make requests to the database to retrieve such information
For all of the above, the ideal is that security rules are applied as early as possible in the development process. If you’ve already started building your application, moving to production level security will likely cause a list of errors to appear. This is because of the fail-safe principle being met, where entity access has been set to no access by default. This can be overwhelming to see multiple security errors appear that need fixing but these can be resolved (an example of this is shown in the tutorial). This highlights the importance of having multiple layers of security to protect applications. To mitigate this risk, security also needs to be applied at the data level – with entity security.
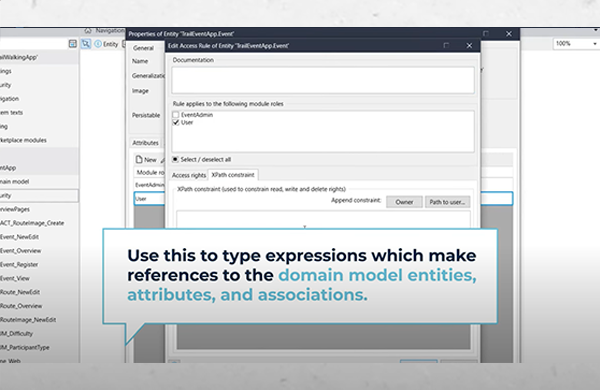
Entity security
Entity access rules control which module roles can view and modify information within your application. These rules allow you to control the four essential elements for securing data – Create, Read, Update, and Delete (CRUD). If a user has access to a page but not the entity on that page, read access errors will appear. To ensure that the least privilege principle is kept, take careful consideration into what attributes of an entity a user should be able to read or write – only give them access to what they need to complete their tasks. In the tutorial, we show how giving users access to modify and view data based on their roles can improve the security of the application.
When using inheritance within entities, it is important to note that access rules and XPath constraints aren’t inherited (more on XPaths in a moment). This means that security still needs to be defined for specialised entities, regardless of the security defined in the inherited entity. Security rules need to be explicitly defined or no access will be given to users.
XPath Security
To create more complex, customisable security rules, XPath gives you the ability to filter what data is being retrieved from the database. These constraints can be important when ensuring certain conditions are met before giving users access to data. For example, read and write access to an object may only want to be given if the logged in user is the owner of the said object. In our tutorial, we show this example by using system members to identify which user has created the object.
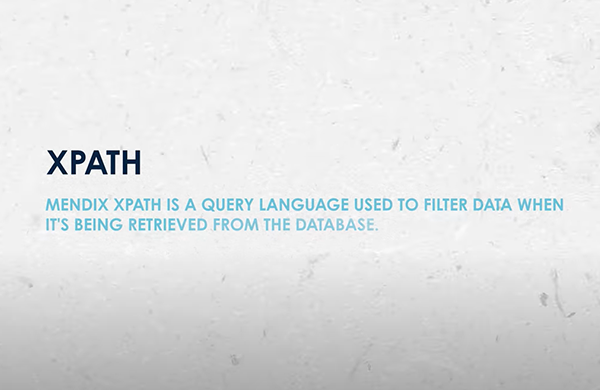
Visualising how XPath constraints work can be a difficult learning curve when first working with security in Mendix. However, in Mendix 10.5, a visual builder has been implemented that can help simplify the process. XPath is an important query language that will help in your Mendix journey both in security and when creating complex queries to retrieve specific data for users, so it’s important to gain an understanding of how it works.
What next?
If you’ve been following along with the tutorial, your application is now set up where you can log in as an Event Manager or as a regular user. If you would like to learn more about secure development, the Mendix rapid developer learning path provides additional content on security. Additionally, check out our blog “5 ways in which Mendix supports cyber security principles” for further detail about security principles incorporated into Mendix.
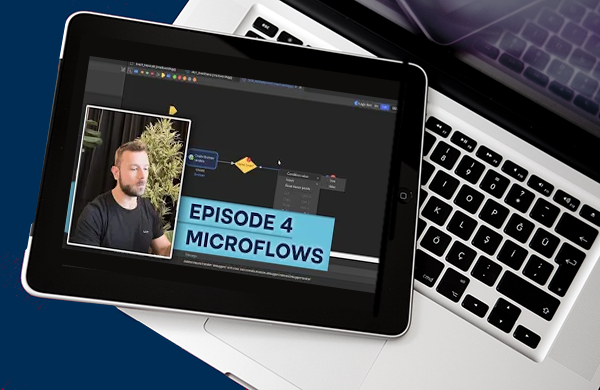
In our next episode, we will be delving into microflows and how they can be used to add business logic to your application. We hope you found this blog helpful, if you have any comments or questions, please do not hesitate to get in touch and don’t forget to check out the full tutorial video on YouTube!
Related Blogs


Drag