AuraQ has vast experience helping organisations find the gaps that can be filled to enhance their business. This could be to improve efficiency, integrate legacy systems or deliver new portals and strategic applications to create competitive advantage. Contact us to request a free, no obligation Gap Analysis.

Testing apps with multiple user accounts
One of the things that all developers have to do is to test their applications. Depending on the type of application, the developer may need to test it against multiple different users, roles or group (we’ll refer to them as entities from now on) to verify the functionality is working as designed.
What methods can be used for testing/verifying functionality against multiple entities?
- Manually logging on/off as each entity and verifying functionality
- Setting up elevated shortcuts for each entity and testing each one from the same account
- Setting up and using an automated testing system
Manual Testing
This is where a developer would;
- Log on as a specific entity
- Test/verify the available functionality and compare it against the requirements, noting any deviations from the requirements
- Log off
- Move onto the next entity and repeat the steps
At the end of the testing process, the developer would have a full picture of whether the application met the requirements from a user perspective. It is potentially though, as you can see, a time-consuming process that requires logging on/off the application which adds time to the testing process for each additional entity that needs to be tested.
Using Elevated Shortcuts
This approach is a very handy nugget to be aware of as it enables a developer to setup a range of shortcuts on their own desktop for specific users, roles or groups. They can then launch the shortcut as that entity and carry out their testing in an elevated session (i.e. under the context of that account), all from their own desktop session. In fact, they can launch multiple elevated sessions concurrently, all from their own desktop. This completely avoids the log on/log off merry go around associated with Manual Testing.
Note: This does rely on Windows Security for local accounts or Active Directory if testing against domain accounts so if your application isn’t using integrated Windows Authentication, you’ll need to use a different approach.
There is some initial setup work involved in creating these elevated shortcuts, but that’s largely a one-off activity which can be completed when the environment is setup.
The generation of the shortcuts could also be automated using Powershell if needed, which may be very handy if there are a moderate to large number of users to setup or if multiple application shortcuts are required for each user.
Automated Testing
The subject of automated testing can be quite a complex area depending on the scale and size of the application to be tested. There are many different automated testing systems available ranging from free (as in beer) Open Source systems to commercial off the shelf packages that charge premium level fees to use.
We’re not going to cover Automated Testing in this blog post though, as that’s a large enough subject to warrant a blog post of its own!
Creating an Elevated Shortcut
If the application is small, the developer may consider it to be a manageable task to manually log on/off as each entity and test, however this approach is rarely scalable past 4-5 entities as the monotony of logging on/off as each user introduces potential for user errors. So if you’re at this point now, then read on as we’re going to show you how to create an elevated shortcut which you’ll be able to invoke from your own desktop. The difference being though that the shortcut runs under a completely different user account.
Normally, when you setup a Shortcut in Windows, you’re creating a simple shortcut file that specifies the application or document as the target and optionally passes in one or more parameters.
With an elevated shortcut you’re not only specifying the target, plus optional parameters, you’re also going to preface it with the runas command and in addition the user account context against which the shortcut should be opened.
Building it up
Let’s start off with the runas command. To find out the options available, enter runas into a command prompt as follows;
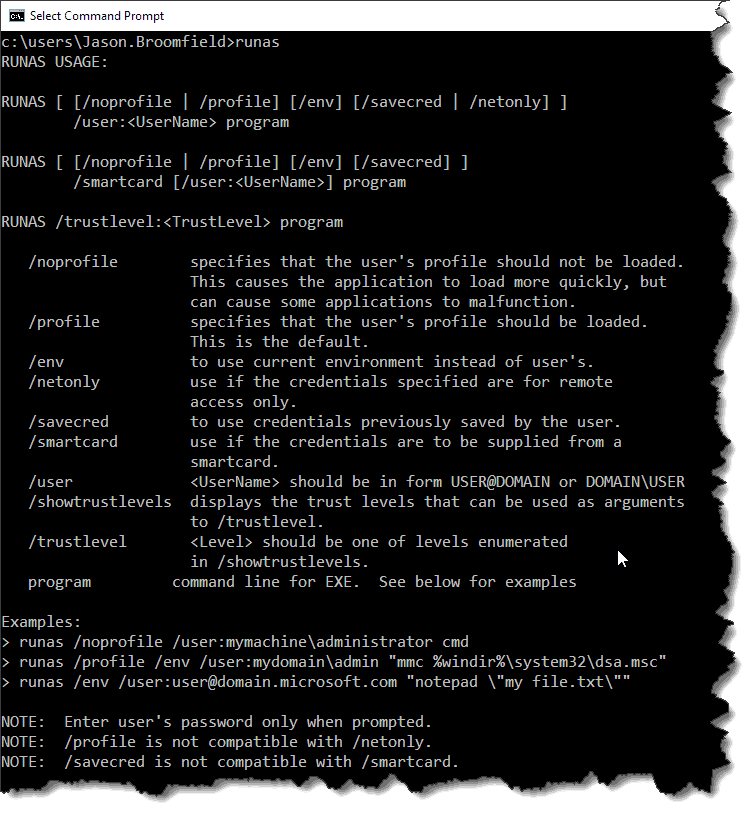
The options we need to use here are /user which allows us to pass in a set of user credentials and /savecred which stores a set of credentials in the logged on users profile (if the credentials are successfully authenticated). So, assuming we have a user account called auraqlabsjonny, the start of our shortcut would be as follows;
C:runas /savecred /user:denallix/jonno
That forms the basis of our elevated shortcut, now we need to add the target object, i.e. the application or file that needs to be opened under the specified user context.
Specifying the target is fairly trivial providing you remember a few basic rules. If there are any spaces in the path you’re passing in the whole string will need to be surrounded by quotes. If you need to pass in any parameters within the quoted string which themselves need to be quoted, then you’ll need to remember to escape the quotes within the first and last quote.
In our example we’re simply going to open up an instance of Google Chrome and pass it a specific URL;
C:Program Files (x86)GoogleChromeApplicationchrome.exe “https://www.microsoft.com”
The full elevated shortcut command
The full elevated shortcut now looks like this;
C:runas /savecred /user:denallixjonno “C:Program Files (x86)GoogleChromeApplicationchrome.exe “https://k2.denallix.com/Workspace””
This is now ready to be tested at the command line simply by pressing enter to run the line above. The first thing you should see is Windows asking you to enter the password for the specified user. If you make a mistake with the password, you’ll see the following response.
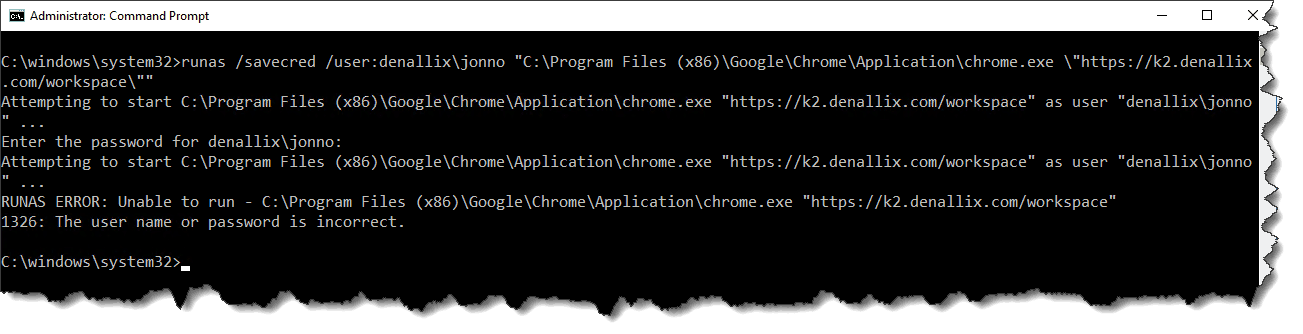
In this example, the password we entered for the specified user was incorrect, so the request to elevate the user permissions to the specified account context failed and the shortcut to Google Chrome wasn’t executed.
In the following example, we entered the correct password;
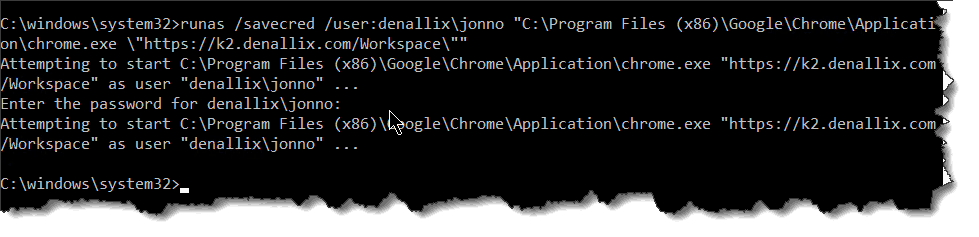
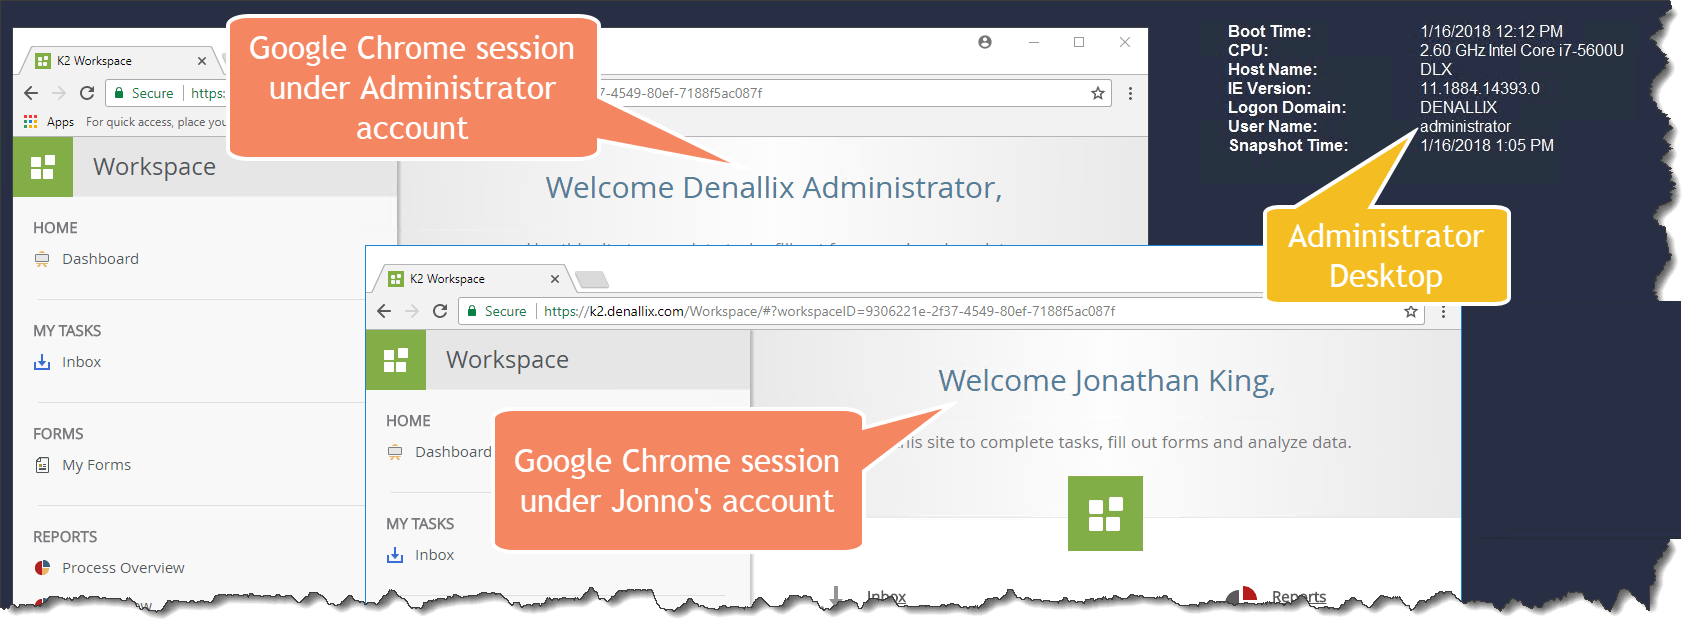
As you can see, this time there’s no error resulting from the request to elevate privileges. In addition we now have a new Google Chrome window open on the administrator’s desktop, but the user context is running under Jonno’s domain account not the administrator. Here we have successfully executed a shortcut link under a different domain account.
Creating the clickable Shortcut
Having proved that we can start up an application using stored credentials from within another users session in a command prompt, now we’re going to make it even easier to start up an application under that user context by creating a desktop shortcut file.
To do this, right click on your desktop and select New | Shortcut.
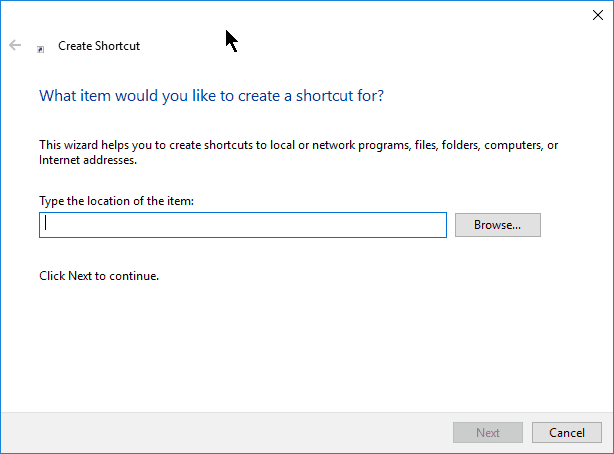
In the Location text box, paste the following;
runas /savecred /user:denallixjonno “C:Program Files (x86)GoogleChromeApplicationchrome.exe “https://k2.denallix.com/workspace””
Click Next to continue and enter a name for your shortcut, we’re going to use “Jonno (Chrome)” as the name of the shortcut.
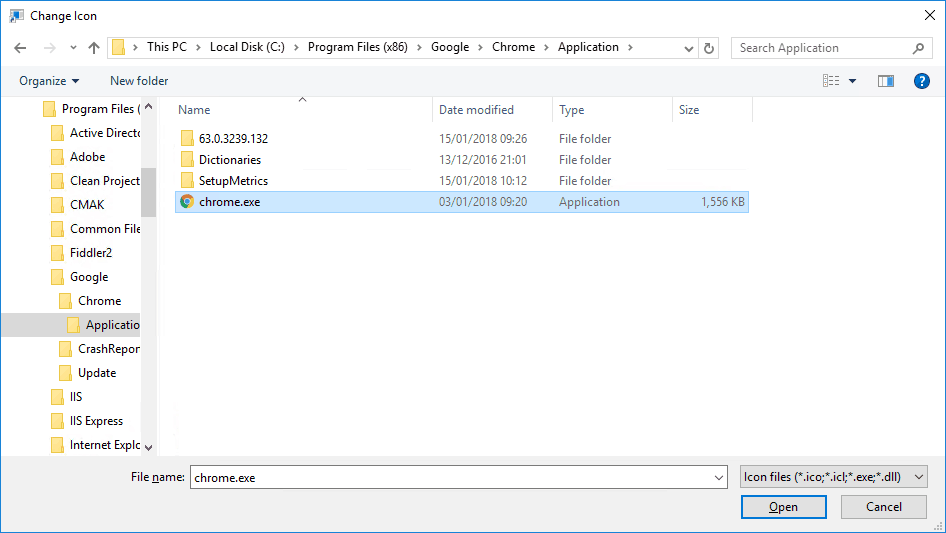
The final [optional] step of creating the shortcut is to apply a new icon image. To do this, right click on the newly created shortcut on your desktop and select properties. Click on the “Change Icon…” button and browse to the folder of Google Chrome application, then select the chrome.exe file and select “Open”.
This will now display the icons that are embedded within the chrome.exe file. Select one of the icons, we’re going to use the Chrome (DEV) icon.
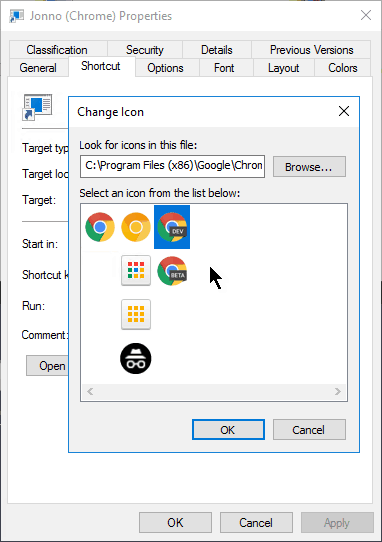
Click on “OK” to close the Changer Icon dialog, then click on “Apply” and “OK” to close the Shortcut Properties dialog. Now the desktop shortcut should look like this;
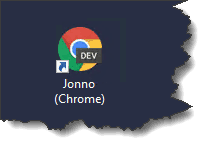
Double clicking on the Shortcut will now start up a new instance of Chrome under the named user context, all without having to enter any passwords.
If you followed all this and got it working, congratulations, you’re now able to create a Desktop application shortcut using an impersonated user context. Go wild but remember, with great power comes great responsibility!
Related Blogs


Drag